Monday, October 28, 2013

Vegetarian Chili


It has been chilly, cloudy, windy, and we have even had some rain today! A perfect day to curl up in front of a roaring fire with a good book and a warm satisfying bowl of homemade chili.

My Vegetarian Chili

1-14.5 oz. Can of chopped tomatoes- Mexican style

1- 15 oz. Can of ranch style pinto beans with jalapeno peppers

1/8 of a cup chopped onions

2 cloves of fresh garlic chopped

2 T. oil

1 cup Boca burger crumbles

1- can of water ( After dumping in the tomatoes, I fill the can with water and add it to the pan with everything else)


Saute onions and garlic in oil till transparent. Add Boca crumbles and cook for about one to two minutes, add remaining ingredients, bring to a boil. Reduce heat and simmer for approximately one hour or till desired thickness.
This makes enough chili for two adults. To feed more, double or triple the recipe. 

Options- For less spicy chili, use pinto beans without jalapenos. 
Still want a little kick? Try adding one small can of chopped green chilis.
I use no additional salt, because the tomatoes and beans have enough. I do add about 1/8 teaspoon of black pepper.


Serve in a bowl topped with chopped onions and cheddar cheese 
 Top Hot dogs with chili, cheddar cheese, and onions. Serve with tator tots, fries, or chips!
(I used Morningstar vegetarian hot dogs)


Follow up with a

Soft Vegan Pumpkin Cake with Pumpkin Spice Buttercream Frosting


Want more pumpkin recipes? Go here! http://www.crazyforcrust.com/2013/10/100-pumpkin-dessert-recipes/


Thursday, October 3, 2013

Gift Cards

I always like to keep card stock paper on hand for creating cards for the holidays and special occasions. It also works out great for yard sale posters amongst other things. And I like to use it to make stencils to spray snow on my windows at Christmas. See mine here http://myuniquebaskets.blogspot.com/2012/12/making-stencils-to-decorate-windows.html

 I'm a writer as well as a crafter and have recently been working on illustrating and writing children's books.
Using card stock to draw my illustrations, I wanted my pages to be square, so I cut off 2 1/2 inches from one end, which left me with strips of paper 2 1/2 X 8 1/2. These work great to make gift tags.

Items you will need;
Scissors regular and pinking shears
Card stock paper
Markers
Crayons
Pencil
Ruler
Hole punch
Ribbon
Stampers and stamp pad (optional)

Take a plain white sheet of card stock
 Measure 2 1/4 inch increments (red lines) One strip will be smaller, but still works and that way you don't waste any paper. Cut using regular scissors.
Using pinking shears, cut straight down the middle. You can either fold and crease the paper
 or measure 4 1/4 inches. (Blue line)

 Now you have 10 gift tags
 Fold leaving top half of card about 1/2 inch smaller than bottom half.

 Using a marker, lay cards on another piece of card stock, and color the edge.
 Turn the card over to color the edge of the top half.

 Your card with the edges colored.
 Using crayons, markers, or stamps, decorate the front of the card.

 Using a hole punch, put a hole in the upper left hand corner and add ribbon and you're done!
 This is a great craft project to get the kids involved with. Cut out the cards and let them draw and color pictures on the front. You can leave the inside blank or write to and from or a personal message.

What do you use card stock for? I'd love to hear your ideas!


Friday, July 19, 2013

Saturday, December 22, 2012

Melt in your mouth truffles


Quick and easy chocolate truffles

3/4 cup sweetened condensed milk
1- package white chocolate chips
flavoring, (mint,cherry, strawberry, maple etc.)
white and milk chocolate candy coating

Melt white chocolate chips in microwave safe bowl. Stir in sweetened condensed milk.
I separated mine into 3 bowls and added strawberry flavor to one, butterscotch flavor to another, and watermelon flavor to the last one.
Chill until firm. Using a teaspoon size amount, roll into a ball, and dip into melted candy coating and place on wax paper to set.

Note; you can also use milk chocolate chips instead of the white ones. Depending on the size of the balls, this recipe makes apprx. 48 pieces of candy.


Monday, December 10, 2012

Candy Cane Hearts

Just another quickie holiday project that can be hung on the tree or used as a treat on a beautifully wrapped gift. And they are easy to make!

Candy Cane Hearts
You will need individually wrapped candy canes in sets of two
thin ribbon
hot glue gun and glue sticks
your choice of artificial Christmas flowers, or Christmas decor


 Using two candy canes hold them so they form a heart shape and using glue gun, glue where they meet at the top and the bottom. Take a piece of ribbon approximately 8 - 10 inches long and tie one end together to form a circle.


 Lay heart over ribbon and then pull the tied end over where the candy canes meet and then under the loop at the top of the ribbon, forming a slipknot. I add a drop of hot glue to hold the ribbon in place on the candy canes. Last, add a flower, or decoration of your choice.

These are your average 6 inch candy canes. I saw some larger ones, about 10-12 inches long that would look great hanging on the front door, welcoming guests.

Sunday, December 9, 2012

Making Stencils to Decorate Windows!

When it comes to decorating for the holidays, I sometimes go overboard! And I like to create and make as many things as I can instead of buying commercial products. So I wanted to share with you a quick window decor you can do yourself instead of the vinyl window clings sold in stores. And it only takes a couple of items and your creativity!

Card stock paper
scissors
poster paint or tempura paint
pencil, pen, or marker
masking or painters tape

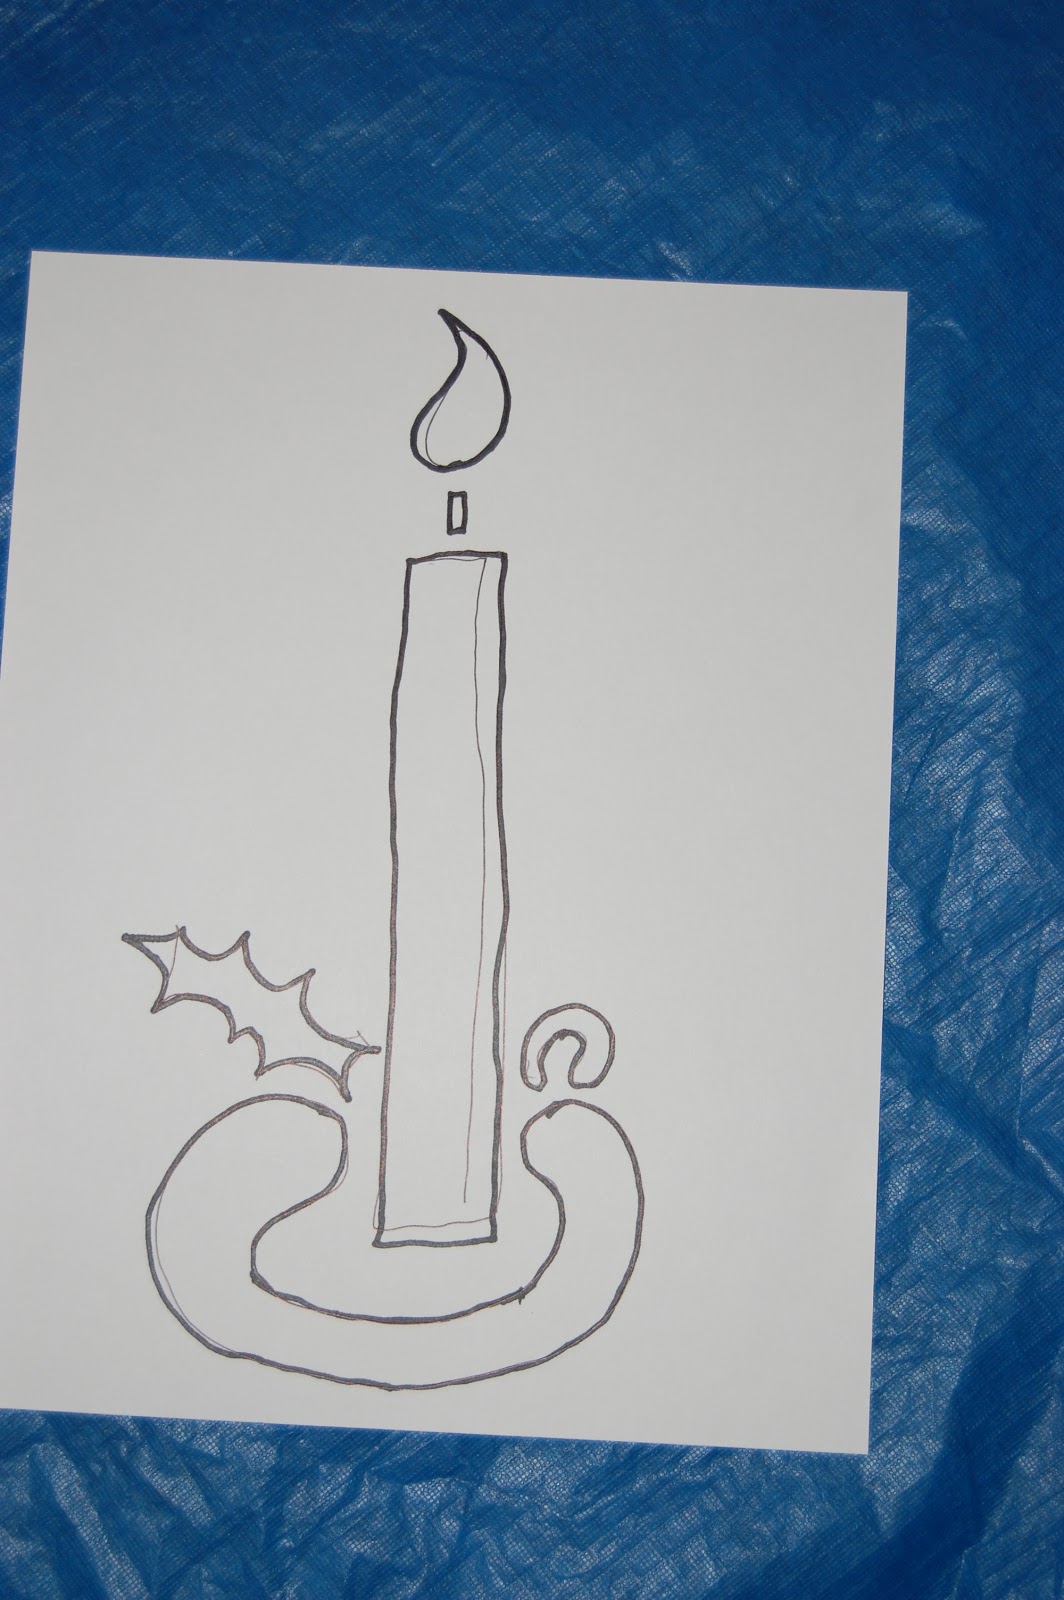
First draw your design on the card stock
next cut it out and then tape it to a clean window or mirror.
Using paint in your color choice, paint inside the cut out portion, let dry and remove your template.
Waa  Laa!

Here are two that I did. Feel free to print them out.


With the candy cane after you paint using the template and remove it then you have to paint the second color freehand and then I added a freehand bow.

Wednesday, November 21, 2012

"Nutty" Holiday Candle Holders

2 cups mixed nuts in shells
white or wood glue
glitter
2 taper candles or 1 pillar candle
2 clean margarine containers or 1 whipped cream container
fall leaves or Christmas adornments


For small holders and taper candles pour 1 cup of nuts in margarine container mix in enough glue to coat (White glue dries clear) insert taper candle in center, sprinkle on glitter and let dry about 24 hours. Carefully unmold.

For pillar candle holder Mix 2 cups of nuts with glue in a separate container first. Center pillar candle in container and then pour glue coated nuts around candle, sprinkle on glitter and let everything dry approximately 24 hours before unmolding.

Tuck fall leaves between candle and nuts after unmolding.

For Christmas decor add different foliage and either a red, green, or white candle.

Monday, October 22, 2012

How to make plastic canvas spinners

Items you will need;

14 plastic canvas strips 3X44 holes
29 pony beads
1 pipe cleaner apprx. 12 inches long
apprx. 1 to 1 & 1/2 yards of ribbon, 1/8 or 1/4 inch wide
1 bone ring for hanging
novelty decoration of your choice
hot glue gun and glue sticks optional


Monday, September 19, 2011

Auction items

Here are just a few of my items coming up in the auction this week!


http://www.facebook.com/BowtiqueCritiqueFP

Auction this weekend! On Facebook!

I will have items in an auction this weekend on Facebook. Take the time to stop by and check out all the great items that will be for sale! Not just mine but other vendors on Facebook also! Great deals and great items for everyone! Here is the link...http://www.facebook.com/BowtiqueCritiqueFP
And if you get a chance check out her blog where you will find all kinds of neat things...From party ideas to recipes, crafts and more! http://thefrugalgirls.com/

Enjoy your week!

Wednesday, August 24, 2011

My Shop

Yesterday I spent a good part of the day going through and organizing boxes from my shop. It was a good day. And it needed to be done. Trying to find anything is hard after you have crammed a 300 square foot gift shop into cardboard boxes. Do I miss my shop? Yes and no. I have had mornings when I get up thinking, "Oh I've got to look for this when I get to the shop" and then it dawns on me, "I don't have a shop anymore" lol! I'm not sad, I think I have come to terms with not having it. Someday.... another time...another place, I will open a new shop but till then I will keep selling online. Everything happens for a reason, But "Life is what you make it" And here, "Life is Good" Have a beautiful day everyone.

New Auction Items!

Good Morning and Happy Hump Day from me! Any special plans for this beautiful day? I have been working on items for an auction this weekend on Facebook! Hope to see you there!

Friday, August 19, 2011

New Party sets

I've been working on a new pattern for a party set. This is the TinkerBell grab bag. What do you think?

Thursday, August 4, 2011

Another review

I did receive it just today. The box was smashed and it said damaged on it. I thought, oh no not again. I opened it and you packed it so well it was perfect. Thank you so much it will look gorgeous on my daughter's baby shower table in two weeks. I will definitely order from you again.

Always makes me happy when a customers happy!

 I love everything! def will be ordering from you for christmas gifts? what other stuff do u put in the baskets? for kids?
Got my package of goodies today love everything♥ thanks so much!!!

Order delivered!


Delivered the three movie night baskets today. She loved how they turned out. What do you think?

Wednesday, August 3, 2011

Updates!

I am totally ashamed of myself! I have not updated my blog in almost a year! My how time flies!
Well I am working on some gift baskets to be given as prizes for a baby shower. Will have them
all put together later today and will post some pictures. Have a wonderful and productive day everyone. See you soon!

Wednesday, September 22, 2010

What A Wednesday Find!

Well I found exactly what I was looking for, for my, "What a Wednesday"! Since time seems to be going so slow today, this adorable turtle clock is perfect for today's find. You can find him and other beautiful clocks to fit any decor at RFForeverClocks on etsy.

What a Wednesday!

Once again it is What a Wednesday!  It's been a busy and slow day. Where to start.....Since Wednesday's are my day off, I have cleaned house, worked on 2 baskets, been to the post office to mail out packages, printed up brochures and note cards and listed a Think Pink Gift Basket for breast cancer awareness on etsy, and even with all that, the day seems to be dragging. It could be the weather. It has been cloudy all day. Or it could be the fact that I've been up since 5 a.m. Not sure what the reason is, but need to do something constructive, so I won't get lazy! So I'm off to etsy to find a, "What a Wednesday" find! I'll be back.

Sunday, September 19, 2010

Recipe of the week!

Here's the new recipe of the week.

 It's a nutritious and healthier twist to nachos!

 Enjoy!

POTATO NACHOS


1 ½ pounds russet potatoes

1 ½ tablespoons vegetable oil

½ teaspoon garlic salt

1 teaspoon Mexican seasoning blend

1 cup Mexican blend shredded cheese

¼ cup rinsed and drained canned black beans

¼ cup diced tomatoes

¼ cup sliced black olives

¼ cup sliced green onions

3 tablespoons canned diced green chiles

Salsa, guacamole and sour cream (optional)

1. Preheat oven to 425 degrees. Scrub potatoes and cut into 1/2-inch thick wedges.

2. Place potatoes into a medium size bowl with the oil, garlic salt and Mexican seasoning. Stir well to coat potatoes with oil and seasonings.

3. Transfer to a large baking sheet and spread into a single layer. Bake for 25 to 30 minutes, stirring several times, until crisp and golden brown.

4. Top with cheese, beans, tomatoes, olives, onions and chiles.

5. Bake for 5 minutes more to melt cheese.

6. Serve with salsa, guacamole and sour cream.