Showing posts with label holidays. Show all posts

Monday, November 18, 2013

Toilet Paper Roll Decorations

Yesterday I wanted a quick craft to work on and here is what I made!


They are sooo easy to make and take no time at all.

Here's what you'll need

toilet paper rolls
paint in colors of your choice
hot glue gun and craft glue
ribbon
clear spray paint
glitter or fake snow
embellishments of your choice

 Start with your toilet paper roll. Flatten it out and then cut off even strips. 

 For the green one I wanted it to resemble holly leaves so I folded my strips like this.


This will be a snowflake


And for the snowflake one, I wanted it to have more detail so I cut some strips in half like this.


I used hot glue to assemble the red and green ones, but ran out of glue sticks and had to use craft glue to assemble the snowflake. I prefer the hot glue because it's quicker.
After assembling them, I used different types of paint, because I didn't have spray paint in the colors I wanted, so I used craft paint and a paintbrush. If you use gloss spray paint you don't need to spray them with  the clear spray paint.


And here's the finished decorations!

Poinsettia 
(you could glue some green leaves to the back)

 Holly

And last but not least,

Snowflake


Looking for other ideas to recycle your toilet paper rolls? Try http://familycrafts.about.com/od/cardboardtubecrafts/tp/ToiletPaperRollCrafts.htm
Or http://www.favecrafts.com/Green-Crafting/16-Uses-for-Toilet-Paper-Rolls

Thursday, October 3, 2013

Gift Cards

I always like to keep card stock paper on hand for creating cards for the holidays and special occasions. It also works out great for yard sale posters amongst other things. And I like to use it to make stencils to spray snow on my windows at Christmas. See mine here http://myuniquebaskets.blogspot.com/2012/12/making-stencils-to-decorate-windows.html

 I'm a writer as well as a crafter and have recently been working on illustrating and writing children's books.
Using card stock to draw my illustrations, I wanted my pages to be square, so I cut off 2 1/2 inches from one end, which left me with strips of paper 2 1/2 X 8 1/2. These work great to make gift tags.

Items you will need;
Scissors regular and pinking shears
Card stock paper
Markers
Crayons
Pencil
Ruler
Hole punch
Ribbon
Stampers and stamp pad (optional)

Take a plain white sheet of card stock
 Measure 2 1/4 inch increments (red lines) One strip will be smaller, but still works and that way you don't waste any paper. Cut using regular scissors.
Using pinking shears, cut straight down the middle. You can either fold and crease the paper
 or measure 4 1/4 inches. (Blue line)

 Now you have 10 gift tags
 Fold leaving top half of card about 1/2 inch smaller than bottom half.

 Using a marker, lay cards on another piece of card stock, and color the edge.
 Turn the card over to color the edge of the top half.

 Your card with the edges colored.
 Using crayons, markers, or stamps, decorate the front of the card.

 Using a hole punch, put a hole in the upper left hand corner and add ribbon and you're done!
 This is a great craft project to get the kids involved with. Cut out the cards and let them draw and color pictures on the front. You can leave the inside blank or write to and from or a personal message.

What do you use card stock for? I'd love to hear your ideas!


Sunday, December 9, 2012

Making Stencils to Decorate Windows!

When it comes to decorating for the holidays, I sometimes go overboard! And I like to create and make as many things as I can instead of buying commercial products. So I wanted to share with you a quick window decor you can do yourself instead of the vinyl window clings sold in stores. And it only takes a couple of items and your creativity!

Card stock paper
scissors
poster paint or tempura paint
pencil, pen, or marker
masking or painters tape

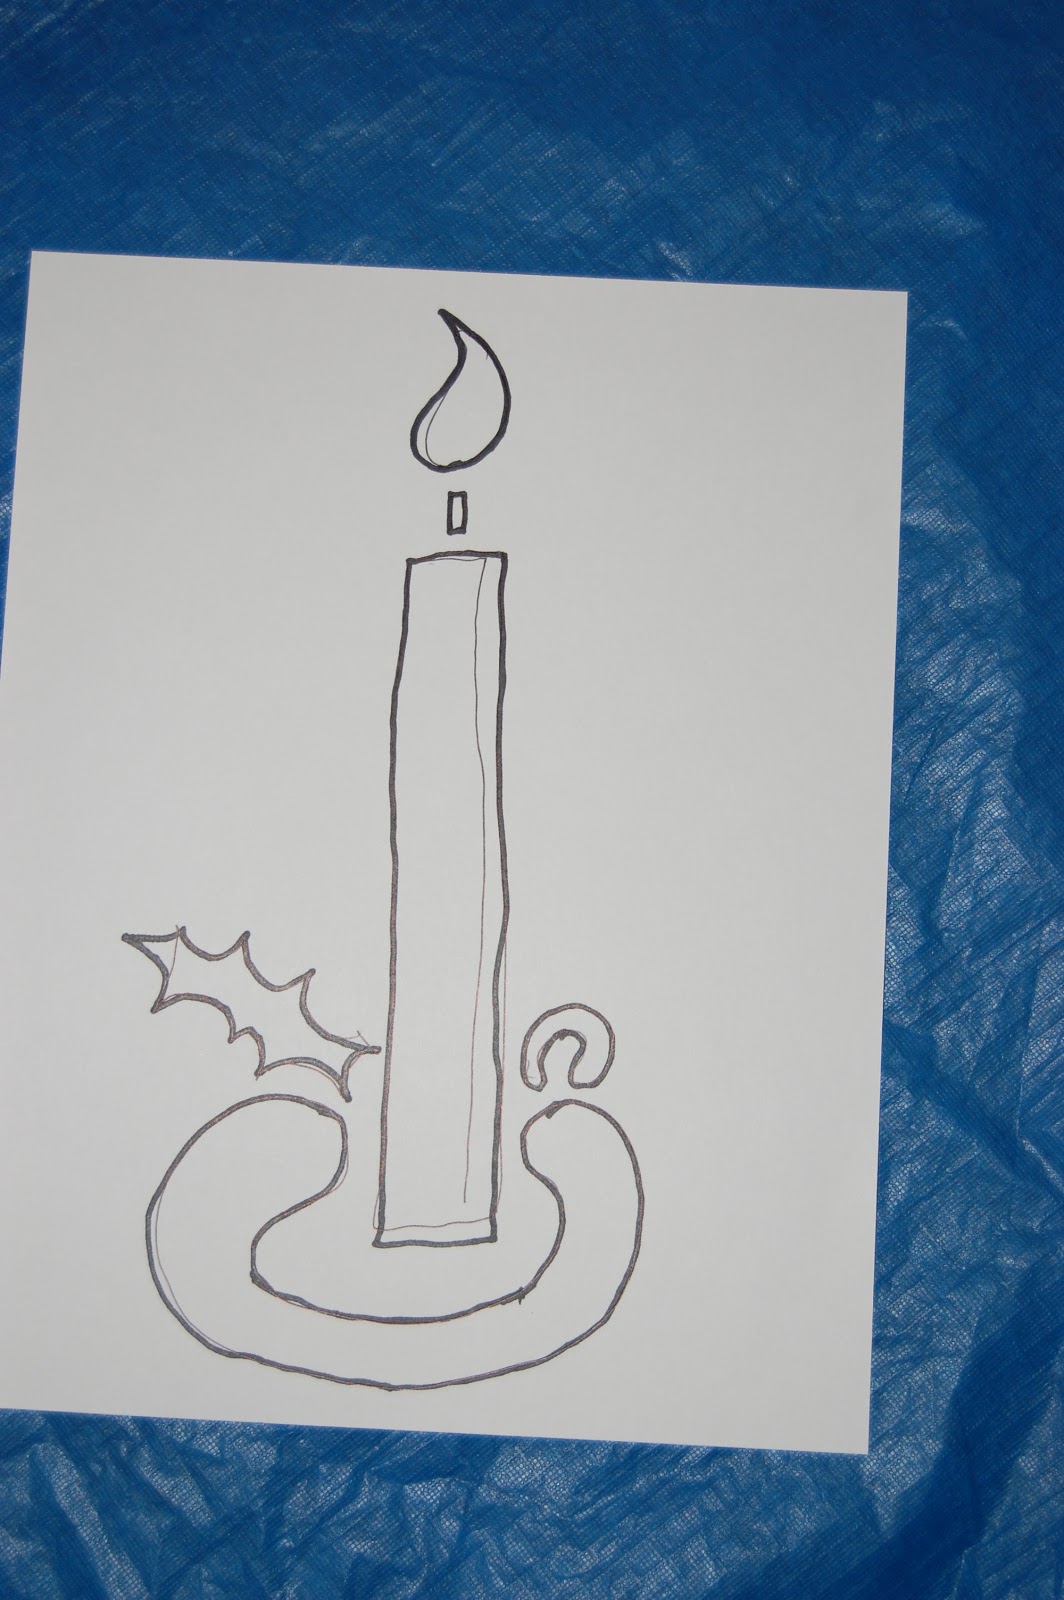
First draw your design on the card stock
next cut it out and then tape it to a clean window or mirror.
Using paint in your color choice, paint inside the cut out portion, let dry and remove your template.
Waa  Laa!

Here are two that I did. Feel free to print them out.


With the candy cane after you paint using the template and remove it then you have to paint the second color freehand and then I added a freehand bow.

Wednesday, November 21, 2012

"Nutty" Holiday Candle Holders

2 cups mixed nuts in shells
white or wood glue
glitter
2 taper candles or 1 pillar candle
2 clean margarine containers or 1 whipped cream container
fall leaves or Christmas adornments


For small holders and taper candles pour 1 cup of nuts in margarine container mix in enough glue to coat (White glue dries clear) insert taper candle in center, sprinkle on glitter and let dry about 24 hours. Carefully unmold.

For pillar candle holder Mix 2 cups of nuts with glue in a separate container first. Center pillar candle in container and then pour glue coated nuts around candle, sprinkle on glitter and let everything dry approximately 24 hours before unmolding.

Tuck fall leaves between candle and nuts after unmolding.

For Christmas decor add different foliage and either a red, green, or white candle.

Monday, October 5, 2009

Ebay

Good Monday Morning
I am checking on my items I have on Ebay. I also am getting ready for the holidays. Make sure to stop by my website at http://www.myuniquebaskets.com and check out the monthly celebrations. Make sure to get your orders in early. Hope everyone has a great week.
Karen